Get started with MFE Orchestrator
Welcome to MFE Orchestrator! This tutorial will guide you through your first steps with the platform.
:::tip In a hurry? The quick start is the condensed version of this page: from zero to a deployed microfrontend — and a one-click rollback — in about ten minutes. :::
MFE Orchestrator can be used in two ways:
🌐 Online Console
Recommended for TutorialUse our hosted version - no installation required!
- ✅ No setup needed
- ✅ Always up to date
- ✅ Perfect for getting started
🔧 Self-Hosted
Deploy on your own infrastructure for full control.
- ✅ Complete control
- ✅ Custom configuration
- ✅ Production ready
In this tutorial, we'll use the online console available at https://console.mfe-orchestrator.dev to explore MFE Orchestrator's features.
Step 1: Access the Console & Register
Open your browser and navigate to:
https://console.mfe-orchestrator.dev
To get started, you need to create an account. You have two options:
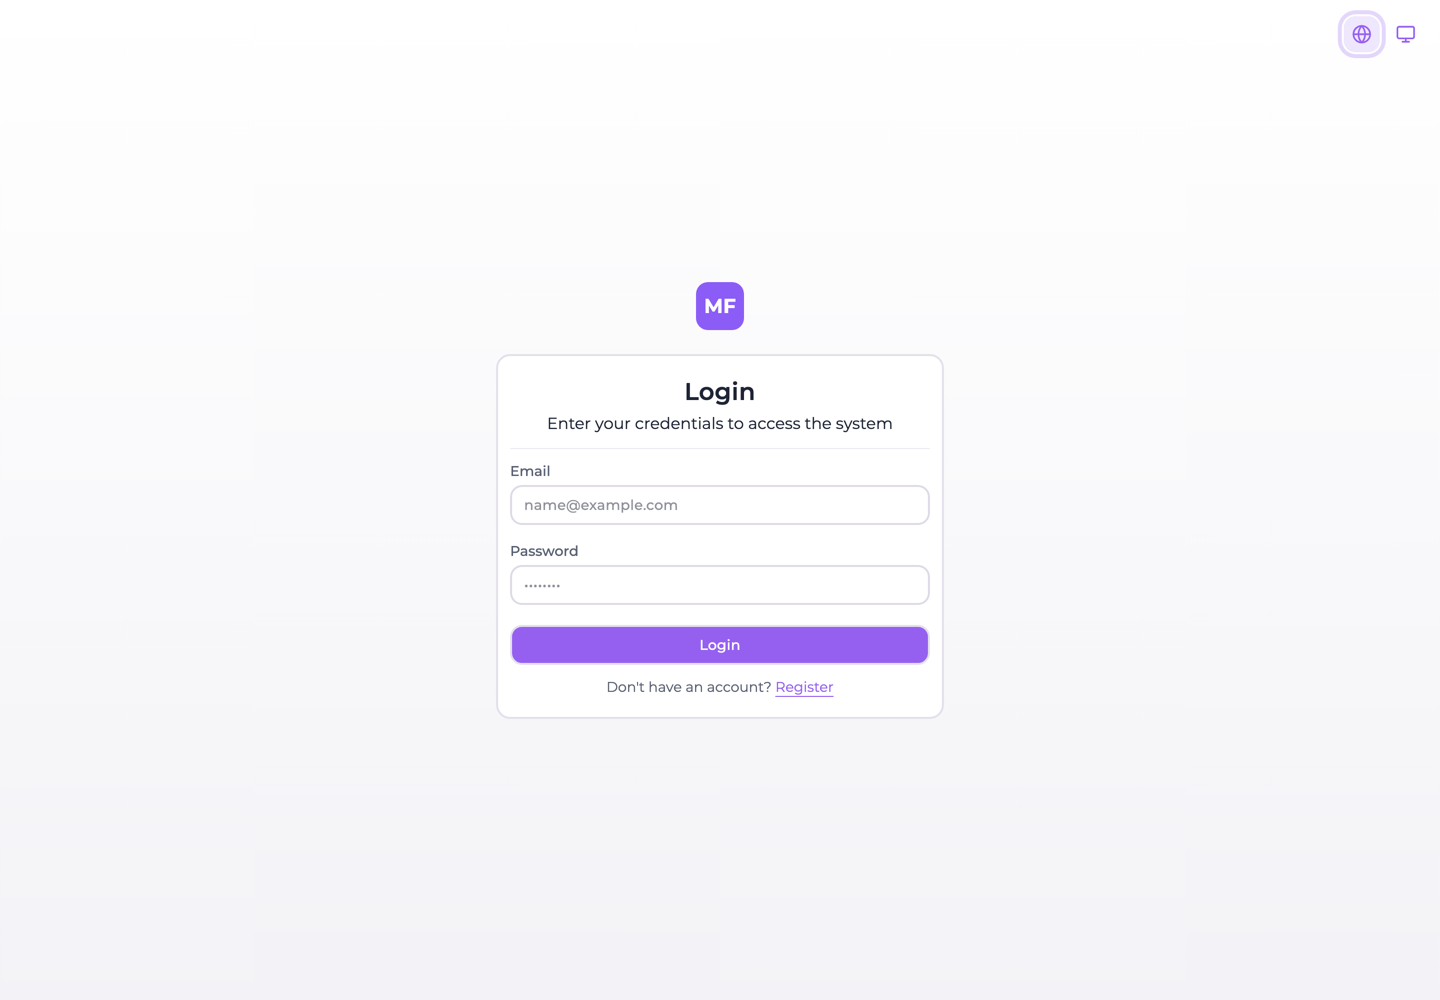
Option 1: Register with Email
- Click on "Register" or "Sign Up"
- Enter your email address and create a password
- Verify your email — on the hosted console, and on any self-hosted instance with SMTP configured; without SMTP there is no verification step at all
- Sign in with your credentials
- Create your organization. The five-step project wizard then opens inside it: name, environments, storage, repositories, collaborators
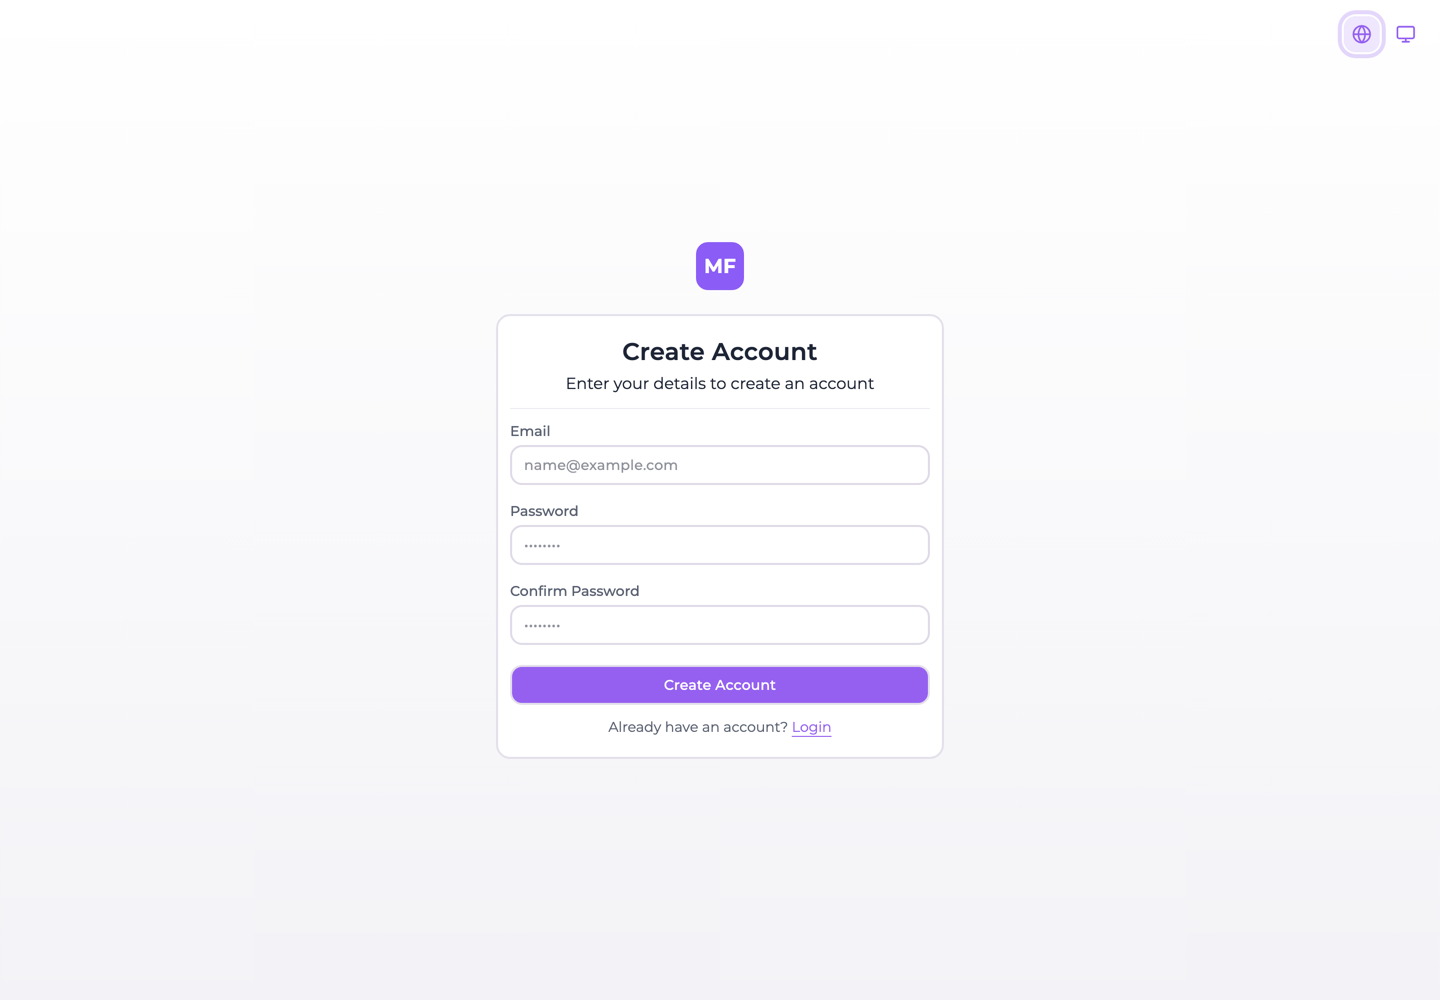
Option 2: Sign in with Google SSO
- Click on "Sign in with Google"
- Select your Google account
- Authorize MFE Orchestrator to access your basic profile
- You'll be automatically signed in
- Create your organization. The five-step project wizard then opens inside it: name, environments, storage, repositories, collaborators
:::tip Recommended Using Google SSO is faster and you don't need to remember another password! :::
If you already have an account, simply sign in with your email or Google account.
Step 2: Connect Your Code Repository
To deploy microfrontends, you need to connect MFE Orchestrator to your source code repository.
-
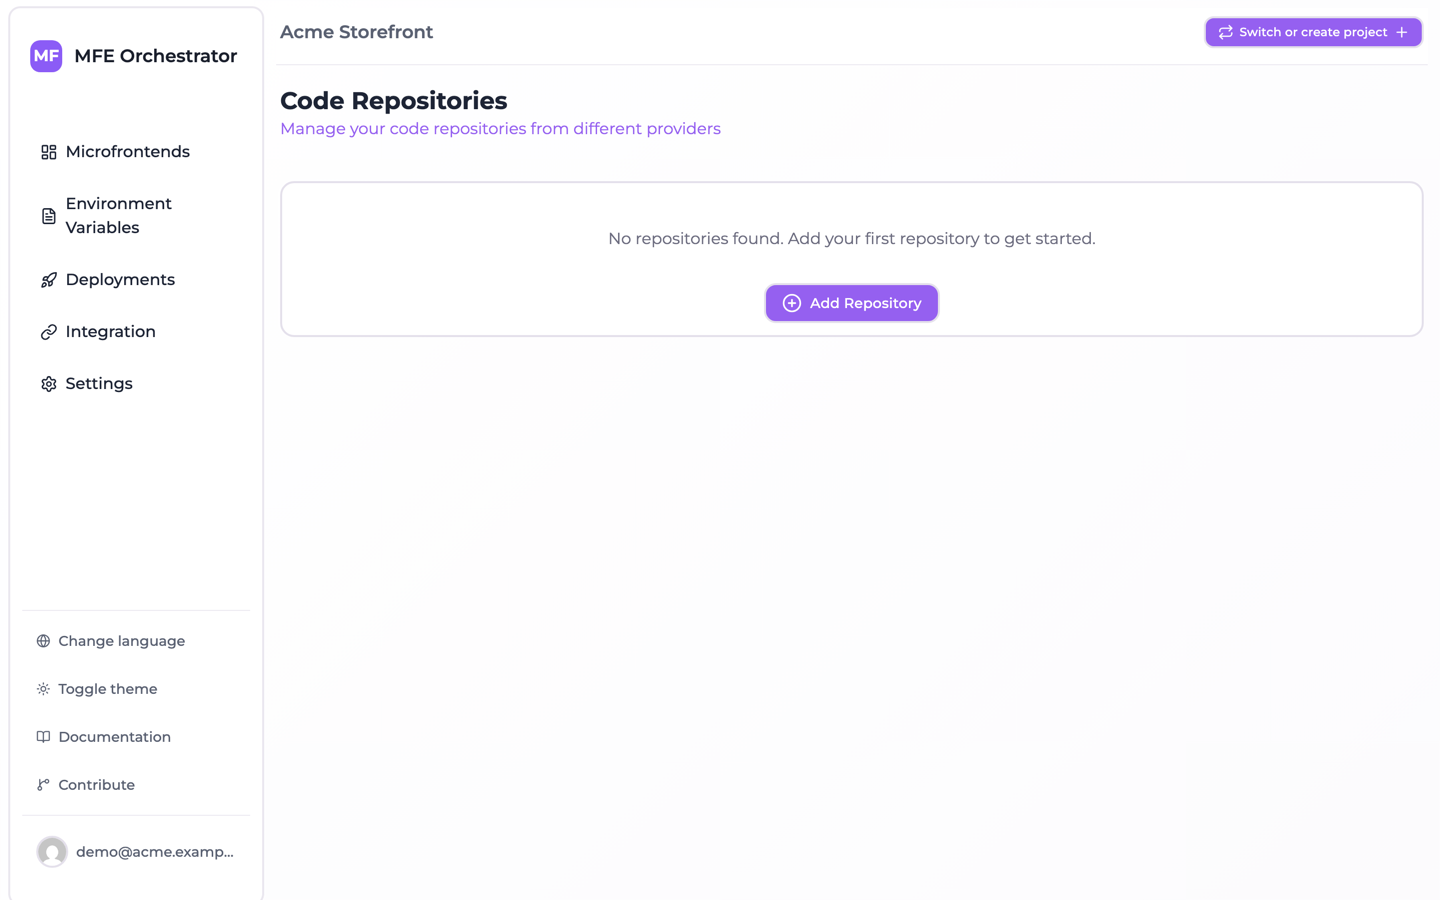
Navigate to Code Repositories or click on Settings → Code Repositories in the main navigation menu
-
Click the Add Repository button and pick your provider
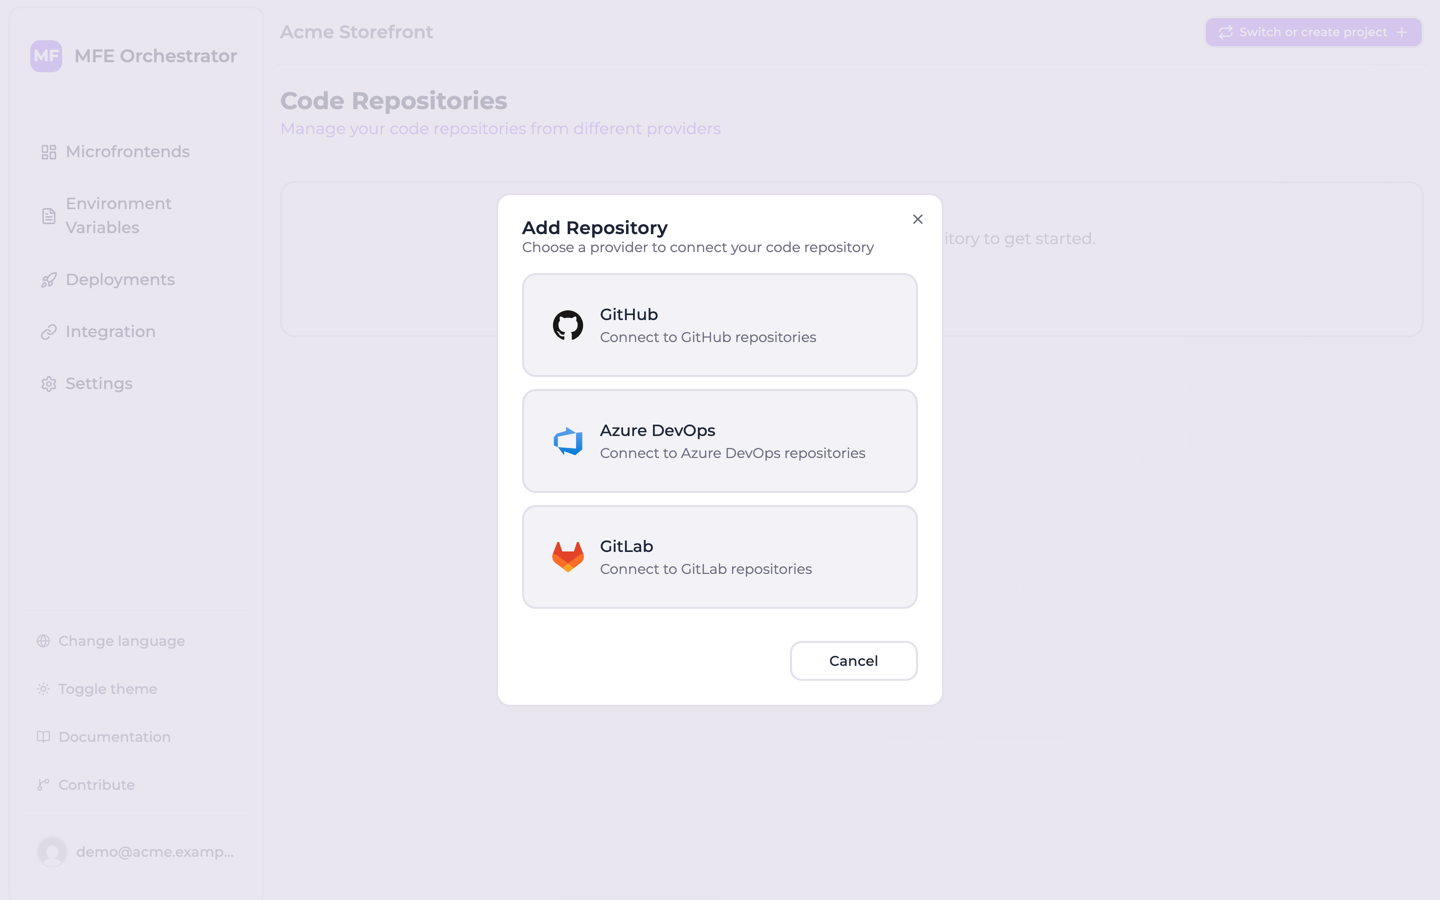
MFE Orchestrator supports multiple repository providers:
- GitHub - Most commonly used for public and private repositories
- GitLab - Self-hosted or GitLab.com
- Azure DevOps - Microsoft Azure Repos
:::tip Quick Start For most users, we recommend starting with GitHub as it has the simplest setup process. :::
Step 3: Create Your First Microfrontend
Now you're ready to start working with microfrontends!
- Return to the Home page by clicking on the home icon or logo in the navigation menu
- Click the Add New Microfrontend box at the center of the screen

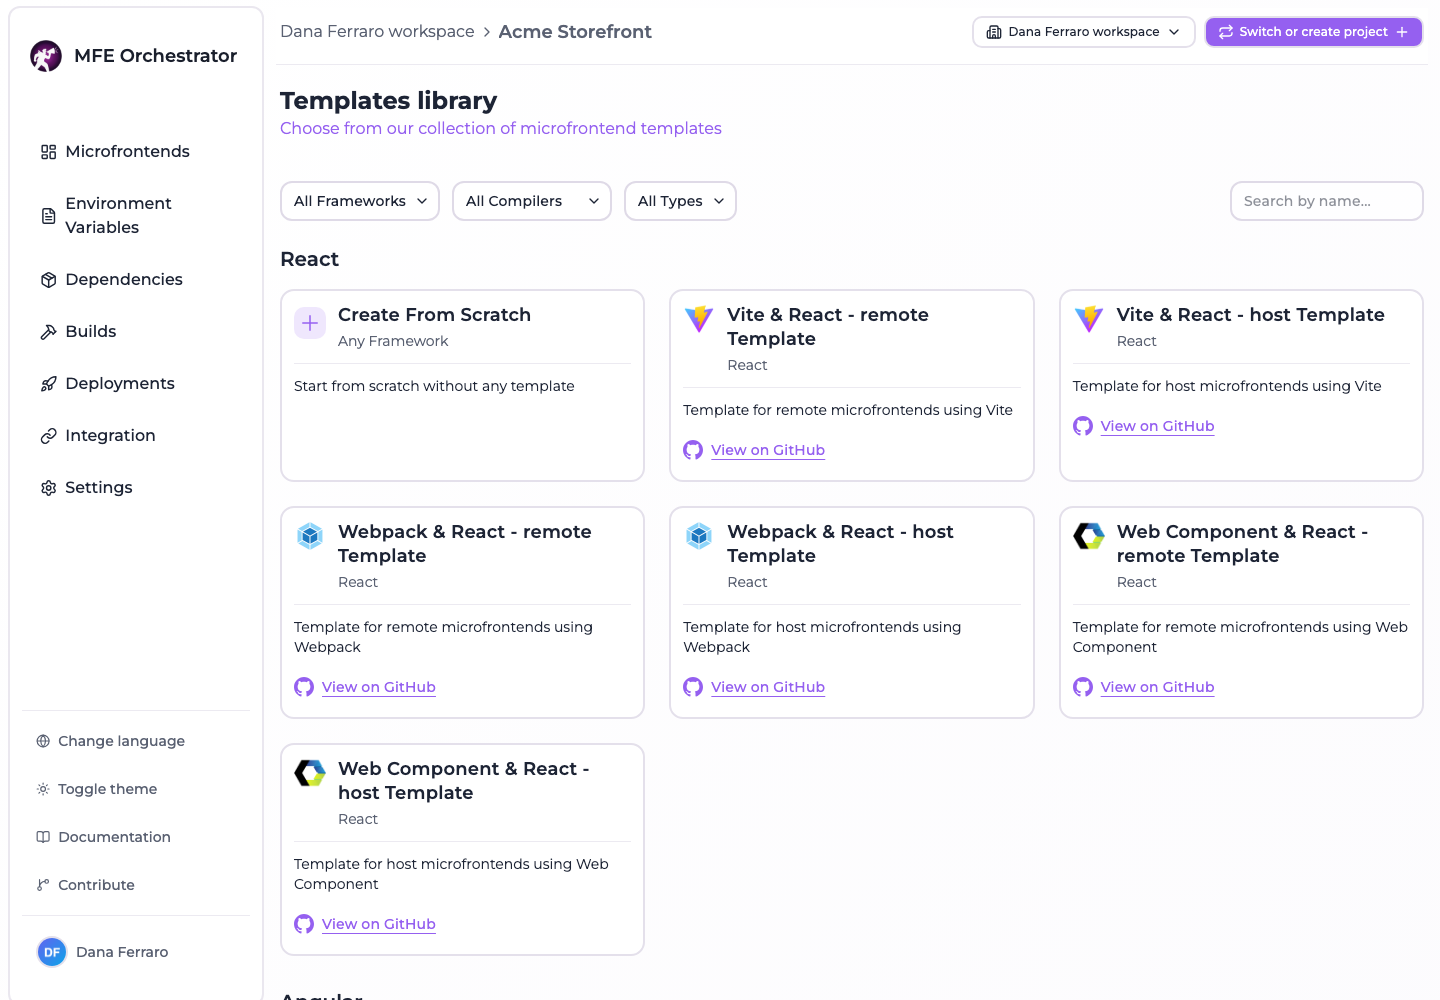
- Choose a template from the list
- Fill in the required information. The form is split into tabs — General, Hosting and Repository — and what the template needs is spread over two of them:
- General → name: A descriptive name for your microfrontend
- General → slug: A URL-friendly identifier (e.g., "my-app"). It is filled in from the name as you type, and cannot be changed after creation
- Repository → source code provider: The repository connection to create the new repository in. Already selected when the project has only one, or when one of them is the default
- Repository → repository name: The name of the repository to create. Also pre-filled from the name, so you only touch it if you want a different one
Because you came from a template, the Repository tab arrives with its switch already on. If the tab is missing entirely, the project has no repository connection yet — go back to Step 2.
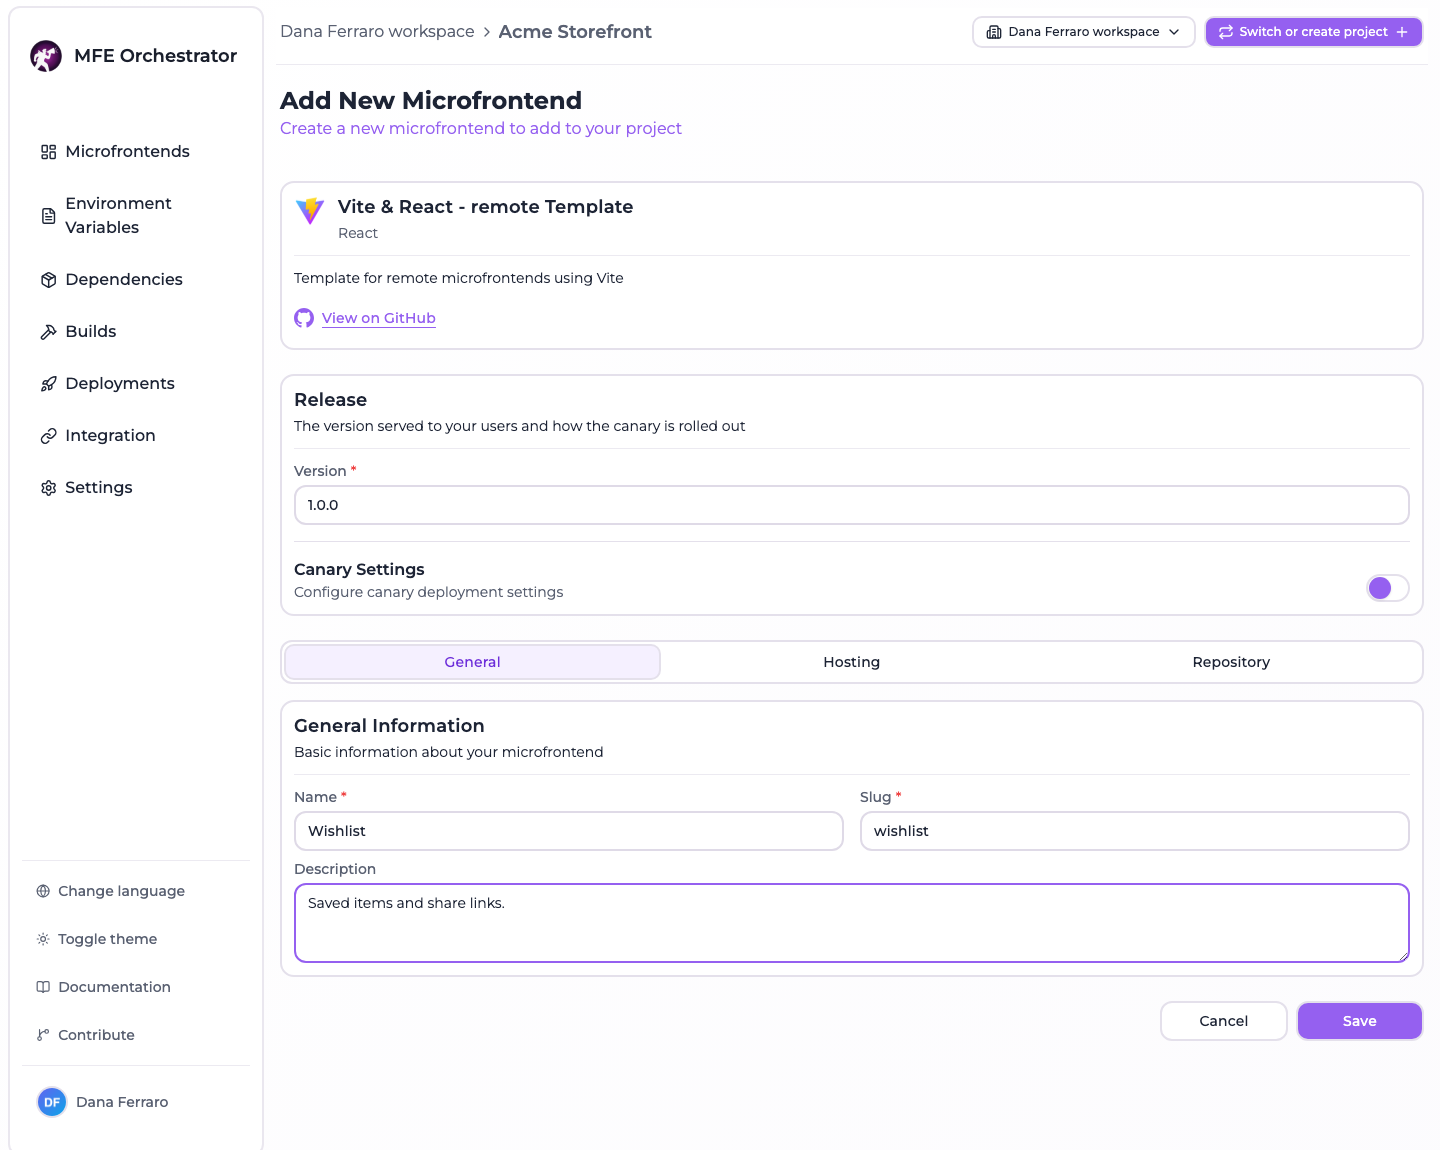
- Click Save to finalize the setup
:::info Automatic Setup MFE Orchestrator will automatically:
- ✅ Create the repository in your selected source code provider with the chosen template
- ✅ Initialize the microfrontend with all necessary configurations
- ✅ Set up the deployment pipeline ready for your first deployment
This process usually takes a few seconds. You'll see a success message once everything is ready! :::
Congratulations! 🎉 You've successfully created your first microfrontend. You can now start developing, deploying, and managing your application through MFE Orchestrator.
Next steps
Your microfrontend exists, but there are a few more pieces before it is serving traffic. The shortest path from here:
- Understand the model — projects, environments, deployments and how they relate. Ten minutes that will save you an hour later.
- Publish a version — push a tag and let the generated pipeline build and upload your first artifact.
- Set up your environments — the stages your microfrontend moves through, plus the allowed domains that let one build serve them all.
- Deploy — snapshot the configuration and make it live. Remember: editing is not deploying.
- Integrate — copy the generated Module Federation configuration into your host application.
Going further
- Hosting options — keep artifacts on the hub, in your own bucket, or on your existing CDN
- Build status — every microfrontend, its latest CI run and the version each environment serves, on one page
- Runtime configuration — configure the same build differently per environment, without a rebuild
- CI/CD — API keys and pipelines for GitHub, GitLab and Azure DevOps
- Organizations — the tenant that owns your projects, and who reaches which one
- Members and roles — invite your team
- Self hosting — run the platform on your own infrastructure